Setting up SilentChat: live chat on your website in four steps
Setup is four steps in the setup assistant: profile, your website, install the widget, test chat. In our test run the account existed after about 2.5 seconds and the install snippet was visible after about 5.5 seconds. Pasting it into your site takes longer — expect about five minutes for the widget and about 15 minutes if the bot should answer from your knowledge base.
What “seconds” means here
We ran through setup in our test environment and timed it: registration, code from the email, name and company, website address, showing the snippet. The account existed after about 2.5 seconds and the finished snippet after about 5.5 seconds, measured with a script that neither types nor reads. A person takes longer. What matters is the rest: the path has four steps, and none needs prior knowledge.
1. Create an account
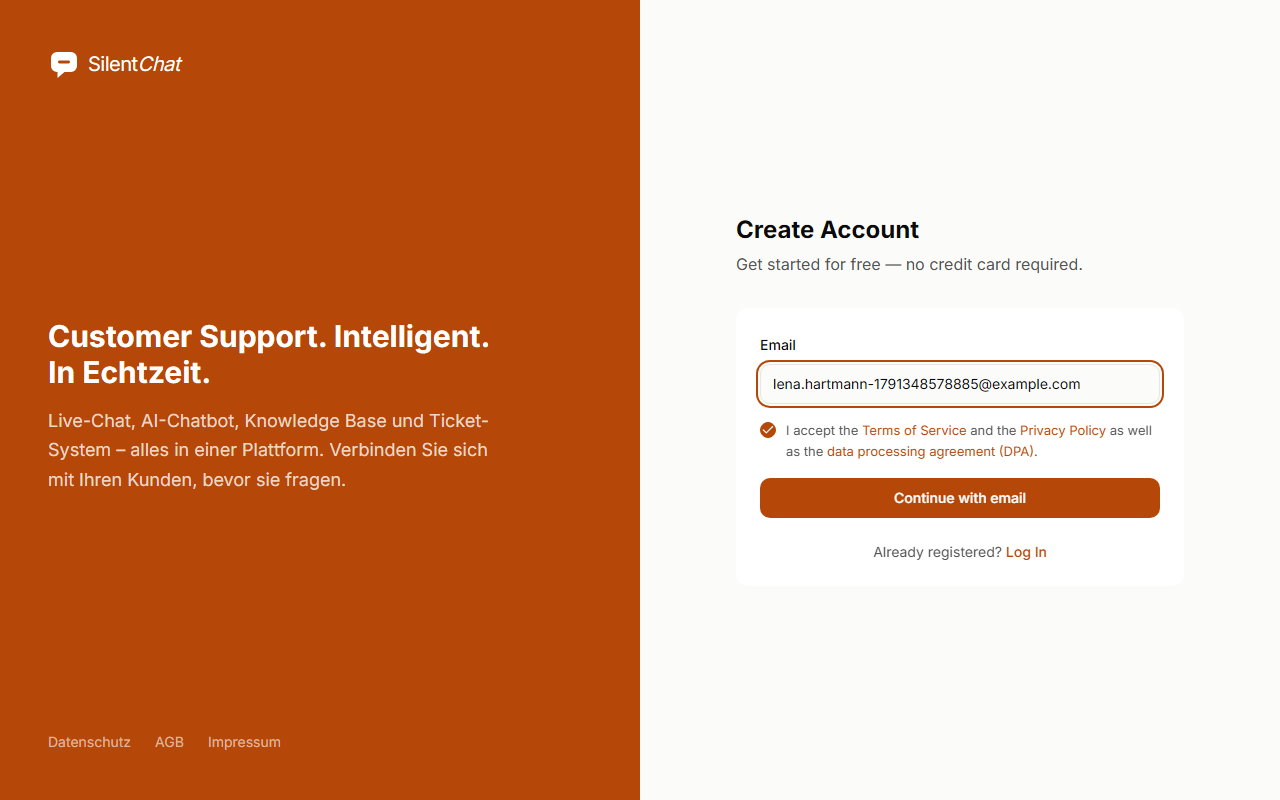
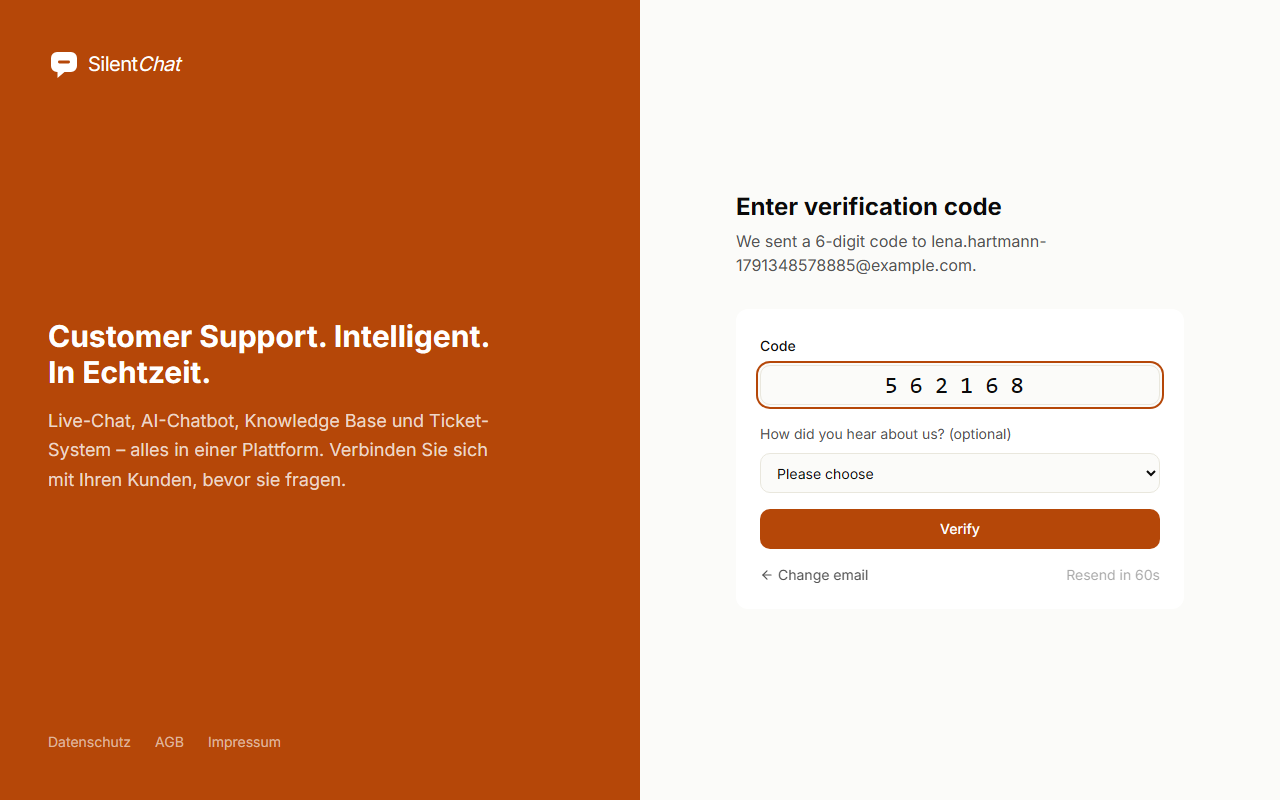
On the sign-up page you enter your email address and tick one box for the terms, the privacy policy and the data processing agreement. No credit card is needed. There is no password: we send you a six-digit code.
You enter the code from the email in the next field. The setup assistant opens afterwards.
2. Name and company
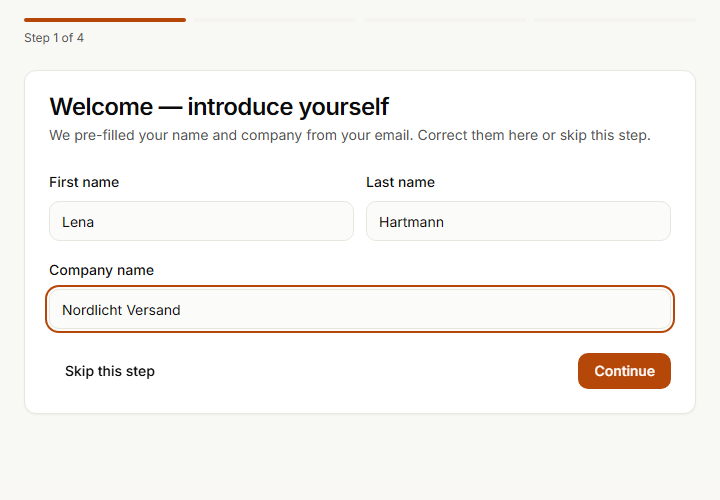
The assistant pre-fills your name and company from your email address. Correct what is wrong, or skip the step.
3. Read your website
Enter your website address. SilentChat reads the pages and stores the content in your knowledge base, which the bot can answer from. The run continues in the background while you carry on in the assistant.
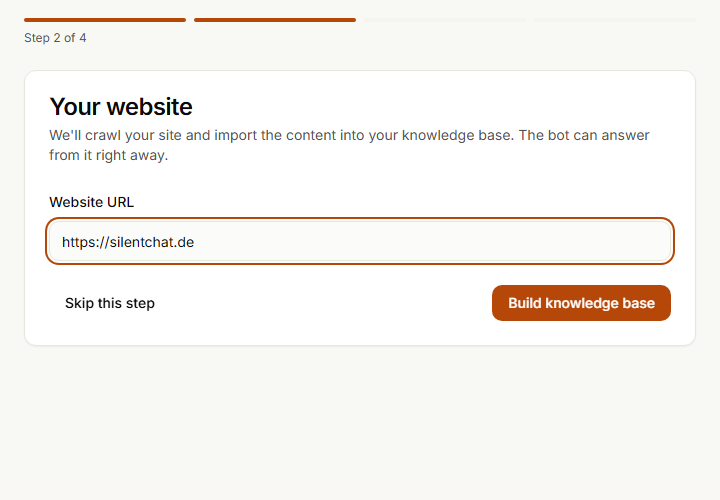
No knowledge base, or no time? “Skip this step” moves on to the next step and the assistant stays open. You can extend the bot at any time later.
4. Install the widget
Now the assistant shows the install snippet: a short script block with your widget's key. “Copy snippet” puts it on the clipboard, and you paste it into your website before the closing </body> tag.
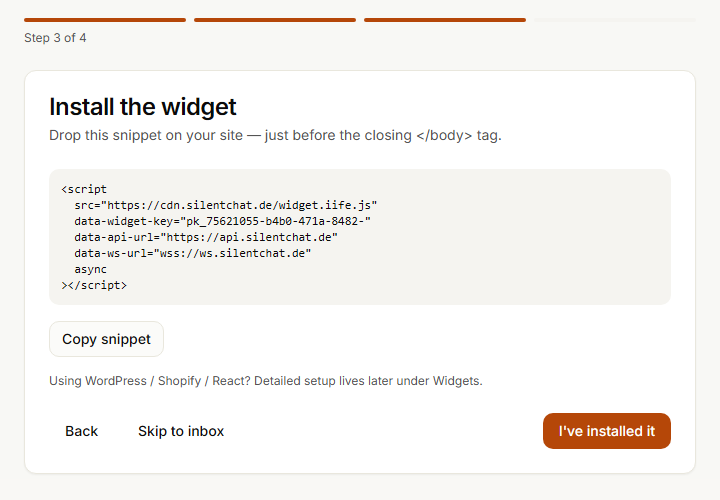
What this looks like in WordPress, including consent and your privacy policy, is covered in our guide Adding live chat to WordPress in a GDPR-compliant way.
5. Try it in the test chat
The last step is a test chat inside the assistant. You ask the bot a question about your website. It is the same bot your visitors will see later, and it answers from the content the assistant has just read. “I've installed it” takes you there.
What comes next
- Dashboard: A checklist on the overview detects what is done on its own: widget exists, team invited, first conversation, knowledge base, trigger.
- Knowledge base: Add articles here for the bot to answer from.
- Team: Invite colleagues so conversations do not depend on one person.
Prices and plans are on the pricing page. If you would like help with the install, write to us — we will look at it together.